


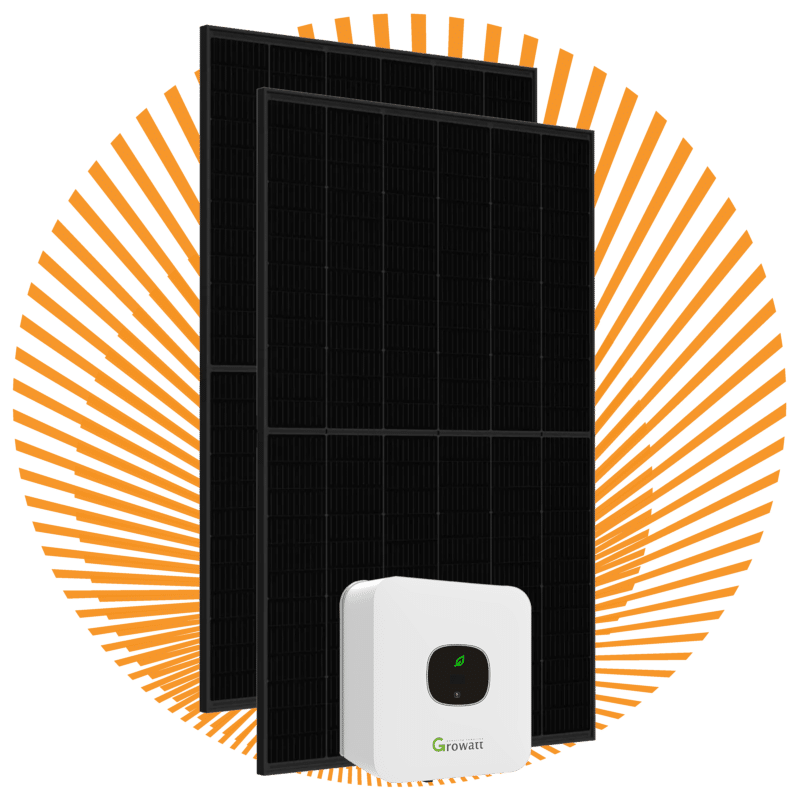
Set of 10 solar panels
SKU: 1626
from €1346 you can enjoy the benefits of a do-it-yourself solar panel package with 10 panels. The payback time of these sets is on average about 4 years, depending on your choices. Would you like to calculate the return on your investment? Then take a look at our yield calculator in the do-it-yourself solar panel guide.
This do-it-yourself solar panel set with 10 panels is put together entirely to suit your own wishes. With us you will find an extensive range of solar panels, inverters, complete mounting material and cabling. By going through all the steps, we can determine exactly what you need and you will see a price that is tailored specifically to your situation.
Step 1: Solar panels
Choose the panels you want from our range. We offer solar panels in various brands and sizes. The quality is the same, so it is purely a matter of colour. For detailed specifications you can consult the datasheet or view the panel in our webshop.
Step 2: Inverter
Select the inverter that meets your requirements. We have inverters available in various price ranges.
Growatt is a Chinese inverter with an excellent price-quality ratio. These inverters are flexible, start up early and switch off late, which maximises your yield. They are also known for their quiet operation thanks to natural cooling.
SMA inverters are produced in Germany. They are slightly more expensive, but are known for the precise way they match the peak power.
Solaredge is a popular inverter because of its ability to deal with shade. Do bear in mind that these inverters only work if every panel is fitted with a SolarEdge optimizer.
It is important to know which grid connection you have. Do you have a 1-phase connection? Then you can often connect a larger single-phase inverter to a spare group. With a 3-phase connection it is better to switch to a 3-phase inverter. Always make sure you connect the inverter to a spare group to prevent fire hazard, as prescribed in the NEN 1010:2015.
Step 3 + 4: Optimizers / Monitoring
If shade falls on your roof, it can be worthwhile to use optimizers for the panels that catch shade. With the Tigo Energy optimizers you can fit an optimizer to precisely those panels, which saves considerable costs. You can easily add these optimizers to your set afterwards.
Monitoring your solar panel set with 10 panels is fascinating. You can of course do this via the screen of the inverter, but it is also fantastic to keep an eye on the graphs 24/7 via your phone or computer. This is possible with the help of our monitoring solutions.
Step 5 + 6 + 7: Roof type / Mounting method / Rows
To determine the right mounting material, we ask you to tell us your roof type. You can then indicate which hook, clip, screw, support or mounting foot you need. The price you see does not apply per hook, but to the complete mounting material including that hook. We also ask whether you want to place the panels in portrait or landscape. In portrait the short side of the panel is usually horizontal, while in landscape the long side of the panel is usually horizontal. Landscape mounting is slightly more expensive because extra rails are used. We always supply the mounting rails horizontally. Finally, we ask you to indicate the number of rows you want. With this we calculate how many end clamps you need for your do-it-yourself solar panel package.
Step 8: Cabling
A solar panel set with 10 panels is not complete without suitable solar cable. This cable runs from the inverter to the nearest panel and from the furthest panel back to the inverter. Behind the panels there are short cables, so that panels lying next to each other can always be connected to one another. You do not need any extra metres for this. If you tell us how many metres of cable you need to connect the furthest panel, we will supply twice this length (or four times if you have chosen an inverter that supports multiple strings). We have already crimped the MC4 connectors onto the cable, so you do not have to buy a special MC4 crimping tool. If you would rather fit the connectors yourself, that is no problem at all. Just let us know.
According to the new NEN 1010:2015 it is compulsory to earth the solar panels. This can be achieved by connecting the nearest panel frame to the inverter with an earthing cable. If you order an earthing cable from us, we will have already attached mounting eyelets to the cable, so you do not have to buy a crimping tool. You can also connect the inverter to the meter cupboard using YMVK cable. The 3-core cable is suitable for a single-phase inverter. If you have chosen a 3-phase inverter, it is better to choose the YMVK 5-core cable.
Step 9: Check your set of 10 solar panels and add it to your basket
Once you have gone through all the steps, you can check your choices and add the solar panel package with 10 panels to your basket. Do you have special wishes or requirements? Then let us know in the comments section during the ordering process. That way we know exactly what to pack for you. We usually aim to deliver your order on the next Saturday, but sometimes this can take a little longer. In that case you will usually receive your panels a week later and can then mount them. Do you have any questions? Please feel free to contact us! Our remote advice does not stop after delivery.
What makes up the price of 10 solar panels with an inverter?
The price of 10 solar panels with an inverter is made up of more than just the panels. Count on four parts: the panels themselves, the inverter, the mounting system that suits your roof type, and the cabling with connectors on the DC side plus the AC line to the meter cupboard. In the configurator above you choose those parts one by one and see the total price update straight away.
What the amount reacts to most is the choice between a standard string inverter and a system with optimizers or micro-inverters. If you have a roof without shade and on a single plane, a string inverter is enough. With two roof surfaces or shade from a chimney, the price of 10 solar panels with an inverter goes up, but you earn that extra cost back in yield.
The roof type counts too: mounting on tiles takes more material than on a steel roof, and a flat roof set-up requires extra ballast and deflectors.
