


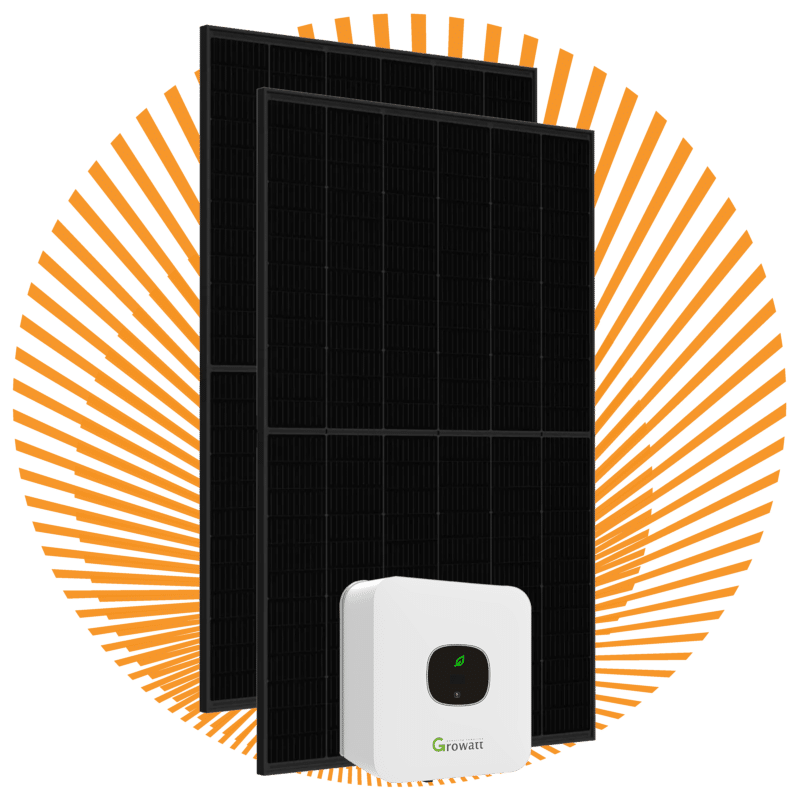
Set of 11 solar panels
SKU: 1810
From €1614 The payback period of these sets is approximately 4 years, depending on your choices. Would you like to calculate your return? Then take a look at our yield calculator in the DIY solar panel guide.
Would you like to put together your own set of 11 solar panels? You can, with our handy DIY set! Discover how to install and personalise your own set with our 11 solar panel DIY set.
Step 1: Choosing your solar panels
Choose from a wide range of solar panels, such as our poly-blue panels or our sleek mono-black panels. Both options offer the same quality, only the colour differs. For detailed specifications you can consult the datasheet or view the panels in our webshop.
Step 2: Selecting an inverter
Decide which inverter suits your requirements best. We offer various price ranges and brands, so you can make the right choice.
Our Growatt inverters offer excellent value for money. They are flexible, efficient and known for their quiet operation.
SMA inverters are produced in Germany and are known for their reliability. Please note that the connected peak power has to be determined accurately with SMA inverters.
SolarEdge inverters are ideal if you have shade on your roof. These inverters perform optimally when every panel is fitted with a SolarEdge optimiser.
It is important to know which grid connection you have. For a single-phase connection you can generally connect a larger single-phase inverter to your spare circuit. If you have a 3-phase connection, a 3-phase inverter is the better choice. For your own safety, always connect the inverter to a spare circuit to prevent fire hazards, as prescribed in NEN 1010:2015.
Step 3 + 4: Optimisers / Monitoring
If you have shade on your roof, you can consider adding optimisers to the panels that catch shade. Tigo Energy offers an excellent solution in which you only have to fit an optimiser to the panels concerned, which reduces the cost considerably. You can easily add these optimisers to your set later on.
Monitoring your DIY set is extremely fascinating. You can keep an eye on the performance of your solar panels 24/7 via your phone or computer. You do not need any special equipment for this. You can simply read the data on the inverter’s display.
Step 5 + 6 + 7: Selecting suitable mounting material
To determine the right mounting material for your roof, we ask you to tell us the type of roof. After that you can indicate which hooks, clips, screws, brackets or mounting feet you need. The price you see is for the complete mounting system including the necessary fastening materials. You can choose between a portrait or landscape layout of the panels. With portrait the panels are placed with the short side of approximately 1000 mm horizontal, while with landscape the long side of approximately 1650 mm lies horizontally. Please note: the landscape layout requires more rails, so this option is slightly more expensive. We always supply the mounting rails horizontally. In addition, we ask you to indicate the desired number of rows, which refers to the number of horizontal rows of panels. Based on this we can calculate how many end pieces you need to install your complete solar panel set yourself.
Step 8: Cabling
With a complete set of 11 solar panels, cabling is indispensable. The solar cable runs from the inverter to the nearest panel and from the furthest panel back to the inverter. Behind the panels there are short cables, so panels that lie next to each other can easily be connected to one another. You therefore do not need any extra metres of cabling. If you tell us how many metres of cabling you need to connect your furthest panel, we will supply twice that length, or four times if you have chosen an inverter that supports multiple strings. We fit the MC4 connectors to the cable in advance, so you do not have to buy a special crimping tool. However, if you would rather fit the connectors yourself, please let us know.
Under the new NEN 1010:2015, the panels must be earthed. You can do this by connecting the nearest panel frame to the inverter using an earth cable. If you order an earth cable from us, we make sure that it already comes with mounting eyelets, so you do not have to buy a crimping tool. You can also connect the inverter to the meter cupboard using YMVK cable. The 3-core cable is suitable for single-phase inverters, while a 5-core YMVK cable is suitable for 3-phase inverters.
Step 9: Check your complete set and add it to your basket
Once you have gone through all the steps, you can check your choices and add the complete set of 11 solar panels to your shopping basket. Do you have special requests or other wishes? Let us know in the comments section when ordering. Do you have any questions? Then do not hesitate to contact us. Our advice does not stop after delivery, we are happy to help you, even remotely!
Take a look at our website for our range of solar panels, inverters, mounting material and cabling for your DIY solar panel set.
