


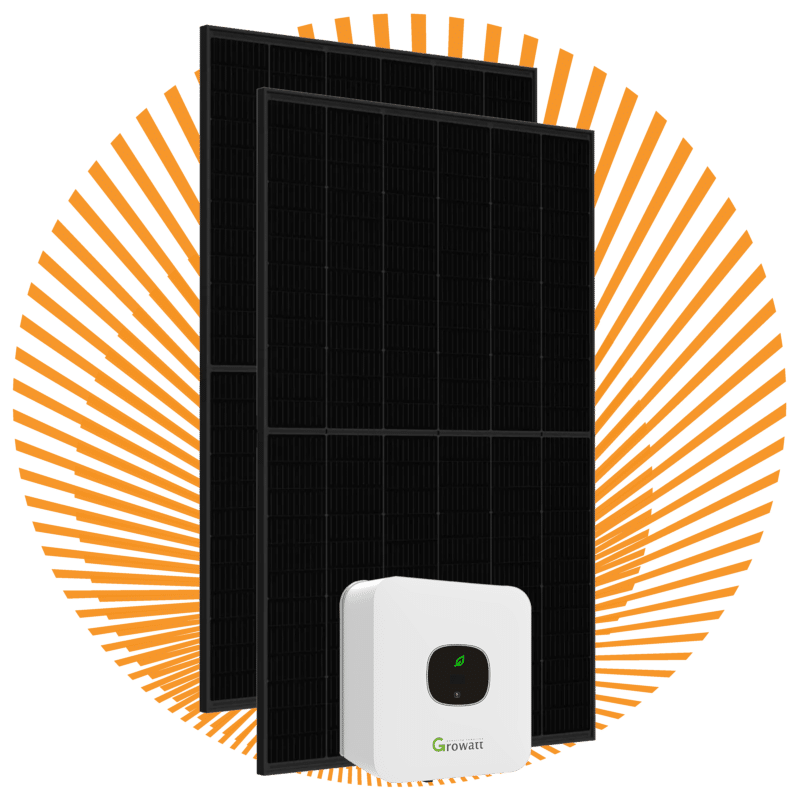
Set of 7 solar panels
SKU: 15043
From just €951 you can already benefit from our fantastic solar panel sets. With a payback period of around 4 years, depending on your choices. Discover how much you can save and enjoy the benefits of green energy! Click here to view the yield calculator.
You can now enjoy putting together and installing a complete set of 7 solar panels yourself, with all the parts you need. This set gives you full flexibility and a tailor-made solution. It includes high-quality solar panels, a reliable inverter, complete mounting material and the right cabling. By going through all the steps, we can show you exactly what you need, at a price that is tailored specifically to your situation.
Step 1: Choosing solar panels
Discover a wide range of brands to choose from. For detailed specifications you can consult the datasheet or view the panels in our webshop.
Step 2: Selecting an inverter
You can choose from various inverters in different price ranges. Here are a few options that match your needs:
The Growatt inverter from China offers excellent value for money. These flexible inverters start up early and stay active for a long time, which maximizes your energy yield. They are also known for their silent operation thanks to natural cooling.
The German manufacturer SMA produces high-quality inverters. Although they are slightly more expensive, they are very reliable and accurate in reaching the maximum peak power.
If you are dealing with shade on your roof, the Solaredge inverter is a popular choice because of its advanced shade handling. Do bear in mind that these inverters only work in combination with SolarEdge optimizers on every panel.
When choosing the inverter it is important to check your electrical connection. If you have a 1-phase connection, you can usually place a larger single-phase inverter on a free circuit. For a 3-phase connection it is advisable to switch to a 3-phase inverter. Do not forget that the inverter must always be connected to a free circuit to prevent fire hazards, as prescribed in NEN 1010:2015.
Step 3 + 4: Optimizers / Monitoring
If you have shade on your roof, you may want to optimize the panels that catch the shade. Tigo Energy offers an efficient solution in which you only have to fit the panels concerned with an optimizer. This saves considerably on costs. You can easily add these optimizers to your set afterwards.
It is also very exciting to monitor your self-assembled set of 7 solar panels remotely. You can follow the performance of your system 24 hours a day on your phone or computer and keep an eye on the graphs!
Step 5 + 6 + 7: Roof type / Mounting method / Rows
To determine the right mounting material for your roof, we ask you to tell us the roof type. You can then indicate which type of hook, clip, screw, bracket or mounting foot you need. The price you see is not just for one hook, but for the complete mounting system including that hook. We also ask whether you want to place the panels in portrait or landscape orientation. Portrait means that the short side of the panel is usually horizontal (110 cm), while landscape means that the long side is horizontal (175 cm). Please note that landscape mounting is slightly more expensive because more rails are needed. We always supply horizontal mounting rails. Finally, we ask you to indicate the number of rows you want. This allows us to calculate how many end clamps you need in order to install the complete set of 7 solar panels yourself.
Step 8: Cabling
For a complete self-installation of the 7 solar panels power set you need quality solar cables. These cables connect the inverter to the nearest panel and from there back to the inverter. The panels come with short cables, so panels that lie close together can always be connected to each other. You therefore do not need to buy extra metres of cable. If you tell us how many metres of cable you need to reach the furthest panel, we will supply twice that length, or four times if you have chosen an inverter that can handle multiple strings. We will fit the MC4 connectors to the cables in advance, so you do not have to buy a special MC-4 crimping tool. If you prefer to fit the connectors yourself, please let us know. We are happy to offer you that flexibility.
Under the new NEN 1010:2015 it is now mandatory to earth the panels. You can do this by connecting the nearest panel frame to the inverter using an earthing cable. If you order an earthing cable from us, we will fit the mounting eyelets for you in advance, so you do not have to buy a crimping tool. You can also connect the inverter to the meter cupboard using YMVK cable. The 3-core cable is suitable for a single-phase inverter. Have you selected a 3-phase inverter? Then choose the YMVK 5-core cable.
Step 9: Check your complete set of 7 solar panels power
yourself and add it to your shopping basket
Once you have followed all the steps, you can check your choices and add the complete set of 7 solar panels to your shopping basket. Should you have special requirements or other wishes, please let us know in the comments field when ordering. We want to be sure that we can pack your order to your satisfaction. Within about a week you will receive your solar panels and you can install them. Should you need any help, do not hesitate to contact us! Our remote advice remains available, even after delivery.
I hope this information helps you make a well-considered choice for your solar panel set.
