


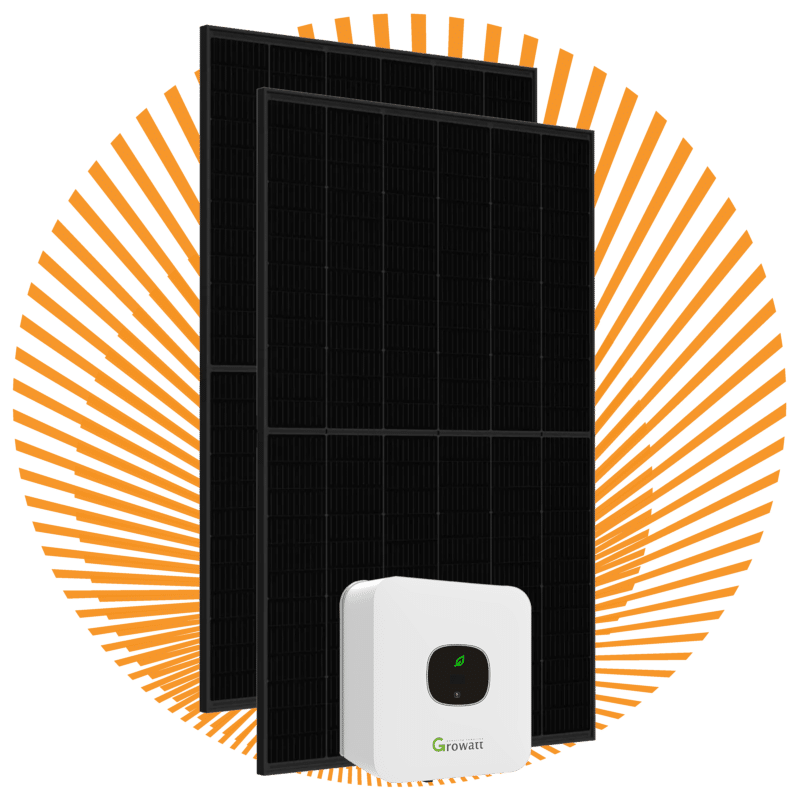
Set of 8 solar panels
SKU: 1340
From€1069 The payback time of these sets is about 4 years, depending on your choices. Would you like to calculate your return? Then take a look at our return calculator in the do-it-yourself solar panel guide.
Discover the possibility of putting together a complete set of 8 solar panels entirely to your own wishes and installing it yourself! This set consists of high-quality solar panels, an efficient inverter, complete mounting material and the necessary cabling. Step by step we guide you in putting together the perfect set that matches your situation exactly.
Step 1: Solar panels
Choose from a wide range of solar panel brands. The quality is the same, so you can make your choice purely on the basis of colour. For detailed specifications you can view the datasheet or explore the panel in the webshop.
Step 2: Inverter
Choose the inverter you want from various price ranges. The [Growatt](https://www.stralendgroen.nl/en/categorie/solarinverters/growatt/) inverter from China offers excellent value for money and is known for its flexibility and quiet operation. The [SMA](https://www.stralendgroen.nl/en/categorie/solarinverters/sma/) inverters produced in Germany guarantee accurate performance. If you have to deal with shade, consider the popular [Solaredge](https://www.stralendgroen.nl/en/categorie/solarinverters/solaredge/) inverter, which is specially designed to handle this.
Step 3 + 4: Optimizers / Monitoring
For panels that catch shade, you can consider adding [optimizers](https://www.stralendgroen.nl/product-categorie/omvormers/tigo-omvormers/). This saves costs, because you only have to fit an optimizer to the panels concerned. In addition, it is highly addictive to [monitor](https://www.stralendgroen.nl/en/categorie/solarinverters/growatt/) your do-it-yourself set, viewing the graphs 24/7 on your phone or computer.
Step 5 + 6 + 7: Roof type / Mounting method / Rows
Indicate which [mounting material](https://www.stralendgroen.nl/en/categorie/mounting-material/) is suitable for your roof type. Choose the hook, clip, screw, bracket or mounting foot you want; the price shown includes the complete mounting material with that hook. Decide whether you want to place the panels in portrait or landscape orientation. Please note that landscape mounting can be slightly more expensive because of the extra rails required. Also indicate the number of rows you want, so that we can calculate the end pieces needed to install your complete solar panel set.
Step 8: Cabling
A complete set of 8 solar panels cannot do without [solar cable](https://www.stralendgroen.nl/product-categorie/montage-materiaal/bekabeling/). We supply the required cable, already fitted with [MC4 connectors](https://www.stralendgroen.nl/product/set-mc-4-connector/), so you do not have to buy a special crimping tool. Where required by [NEN 1010:2015](https://advies-elektrotechniek.nl/pv-installatie-volgens-nen-1010-2015/), we also offer earthing cables with pre-mounted mounting eyelets. Connect the inverter to the meter cupboard using the correct YMVK cable, depending on whether you have a single-phase or 3-phase inverter.
Step 9: Check your complete set and add it to the shopping basket
Check your choices and add the complete set of 8 solar panels to your shopping basket yourself. Do you have special wishes? Let us know in the comments section when ordering. We aim to deliver your order as quickly as possible, usually on the very next Saturday. If that does not work out, you will receive the panels shortly afterwards, so you can start the installation. We also offer remote advice after delivery to support you.
Get started on putting together your perfect solar panel set and enjoy the benefits of green energy!”
