


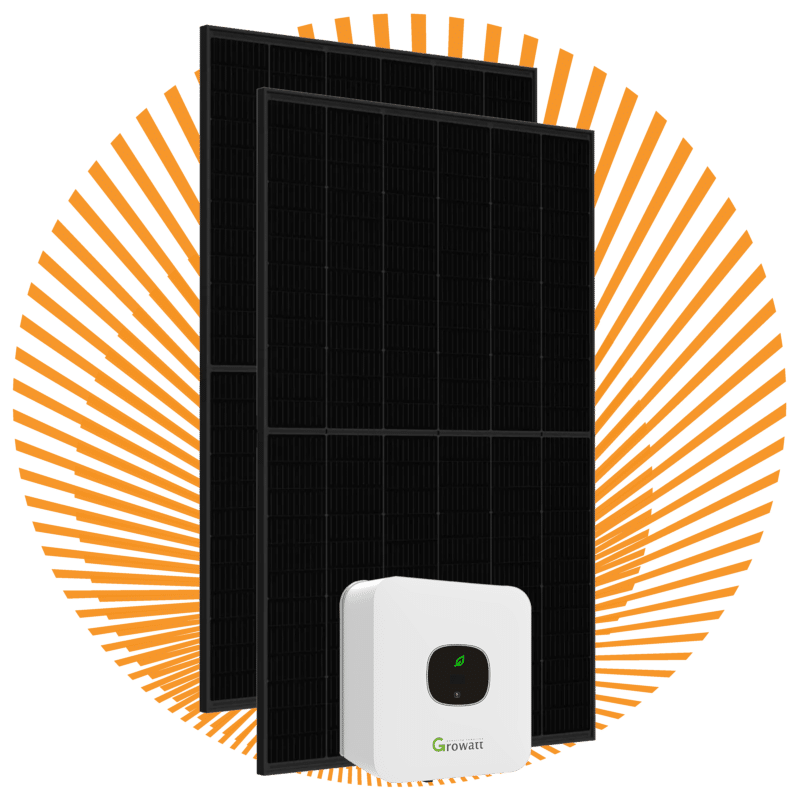
Set of 20 solar panels
SKU: 116578
From €2,643 The payback period of these sets is around 4 years, depending on your choices. Would you like to calculate your return? Then take a look at our return calculator.
You can install a complete set of 20 solar panels yourself and put it together entirely the way you want. The set consists of solar panels, an inverter, mounting material and cabling. By going through all the steps, we can determine exactly what you need and you get to see a price that is tailored specifically to your situation.
Step 1: Solar panels
You can choose from various solar panels. The quality is very comparable. So mainly look at the following points:
- Colour and appearance of the solar panels. Do you want panels that are completely black, or may they have a white grid? A white grid means the panels heat up less quickly and therefore perform better. The difference in yield is not so great, however, that you should choose it if you would rather look out on beautiful black solar panels!
- The output of the solar panels. The number of watt peak (Wp) is stated in the name of every solar panel. This indicates the output of the solar panel.
- Size of the solar panels. Solar panels come in different sizes. Make sure you draw up your layout plan with the correct sizes!
- What do the solar panels cost? The price per watt peak is mainly of interest. Divide the price of a solar panel by the number of Wp it has. What is it worth to you?
For detailed specifications you can click on the datasheet or view the panel in the webshop.
Step 2: Inverter
Choose the inverter that best suits your complete set of 20 solar panels. We have various price ranges available.
The Growatt inverter from China offers excellent value for money. These inverters are very flexible, start up early and shut down late, so your yield is maximised. On top of that, Growatt inverters are known for their quiet operation thanks to natural cooling. These inverters are very good when there is plenty of sun, but do not ask complicated things of them such as shade management.
The SMA inverters are produced in Germany and are slightly more expensive but of high quality. These inverters have opti-track, so they cope better with shifting shade. With SMA it is important to match the peak power of the connected panels accurately.
The Solaredge inverter is popular because of its shade management function. There is a different price tag attached to that, however. These inverters only work if every panel is fitted with a SolarEdge optimizer.
Please note: check which grid connection you have. With a 1-phase connection you can often connect a larger single-phase inverter to a spare circuit. If you have a 3-phase connection, you are better off choosing a 3-phase inverter. Always connect the inverter to a spare circuit to prevent fire hazards, as prescribed in the NEN 1010:2015.
Step 3 + 4: Optimizers / Monitoring
If shade falls on your roof, it can be worth optimising the panels that catch that shade. Tigo Energy offers a fine solution in which you only have to fit the panels concerned with an optimizer. This saves considerably on costs. You can easily add these optimizers to your set afterwards. Please note, this mainly works well with SMA inverters.
It is great to monitor the performance of your DIY solar panel set. You can do this via the inverter’s screen, but it is even more fun to keep an eye on the graphs 24 hours a day via your phone or computer!
Step 5 + 6 + 7: Roof type / Mounting method / Rows
To determine the right mounting material for your roof, we ask you to tell us the roof type. After that you can indicate which hook, clip, screw, bracket or mounting foot you need. The price you see is not per hook, but for the complete mounting material based on that hook. We would also like to know whether you want to place the panels in portrait or landscape mode. Portrait means the short side is horizontal, while landscape places the long side horizontally. For landscape mounting on a flat roof we charge a small surcharge, because you then need more fastening material. We always supply the mounting rails horizontally, unless you indicate in the notes when ordering that you would like to receive the rails vertically. Finally, we ask you to indicate the desired number of rows. A row runs from left to right, a column from top to bottom. If there is an interruption somewhere, you start a new row. On this basis we can calculate how many end clamps you need to install your complete set of 20 solar panels yourself.
Step 8: Cabling
A complete set of 20 solar panels cannot do without solar cable. This cable runs from the inverter to the nearest panel and from the furthest panel back to the inverter. Behind the panels there are short cables, so that panels lying next to each other can always be connected to one another. You do not need any extra metres for that. If you let us know how many metres of cable you need to reach the furthest panel, we will supply twice that length, or four times if you have ticked 2 strings. We fit the MC4 connectors in advance, so you do not have to buy a special MC-4 crimping tool. Would you rather connect the connectors yourself? No problem, then choose loose connectors supplied separately.
According to the new NEN 1010:2015, the panels must be earthed. You can do this by connecting the nearest panel frame to the earth rail in the meter cupboard using an earth cable. If you order an earth wire from us, we fit the cable lugs in advance. That also saves you buying a crimping tool. Would you rather cut the cables to size yourself? No problem! Then choose loose cable lugs supplied separately. Finally, you can connect the inverter to the meter cupboard using a YMVK cable. The 3-core cable is suitable for a single-phase inverter. Have you selected a 3-phase inverter? Then choose the YMVK 5-core cable.
Step 9: Check your complete set of 20 solar panels and add it to your shopping basket
Once you have gone through all the steps, you can check your choices and place the complete set of 20 solar panels in your shopping basket yourself. Do you have special requirements or other wishes? Then state this in the comments section when ordering, so we know what to pack. We deliver from Tuesday to Saturday. A few days before delivery you will receive an email from us stating the day we would like to come by. The day before delivery you will receive an email and text message with a time slot, and on the day of delivery our driver will give you a call. Cannot work it out? Feel free to contact us! Our remote advice does not stop after delivery.
For more information about buying a complete solar panel set with 20 panels and other DIY solar panel sets, please visit our website. At Stralend Groen we are happy to help you make your solar panel project a success!
| from price | 2643 |
|---|
