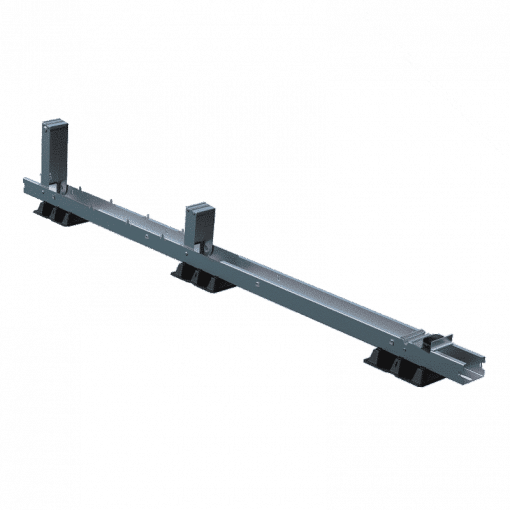
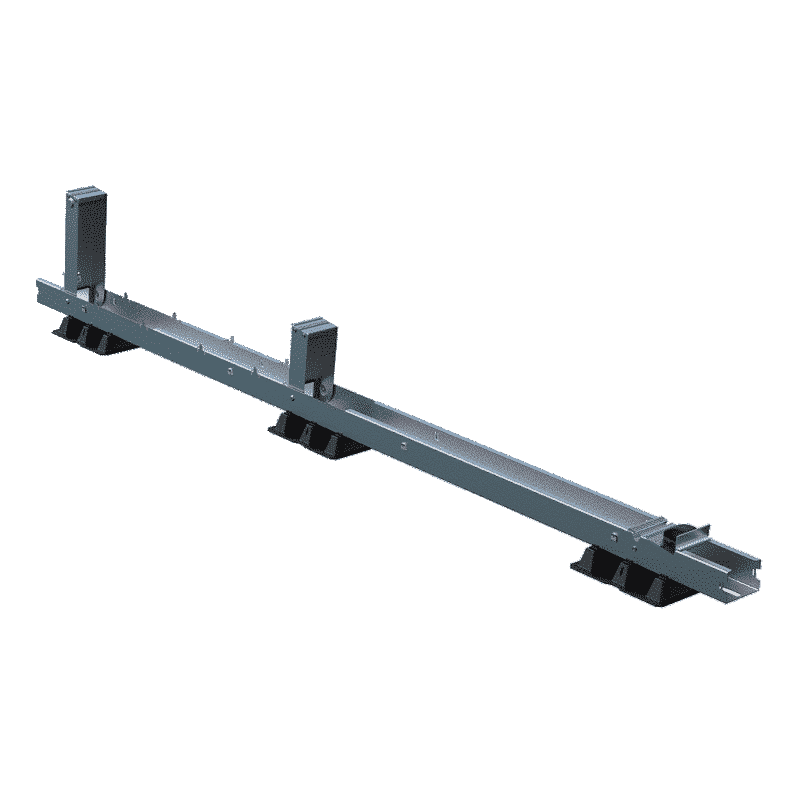
Solarstell Connect base element Portrait Black
The basis for a durable mounting system for solar panels on a flat roof is the Solarstell Connect Base Element. Simply click the upright upwards to create a stable base for the solar panels. To install one solar panel you need two base elements. For two solar panels you need three base elements, because the middle one is shared.
The base element is step 1 of the mounting plan. Start the installation by setting out the base elements and clicking the uprights upwards. Tip! Setting out the base elements is extremely easy with the Solarsteller. With this adjustable spacer you know exactly how far apart the base elements have to be placed.
When drawing up a ballast plan, always pay attention to the no go zone. That is the free space along the roof edge where no solar panels are placed, because of suction and swirling winds at the roof edges. The rule of thumb is: keep a distance of 1/6th of the height of your roof to the roof edge, with a minimum of 75 cm. And for once you are allowed to count the neighbours’ roof as well! At a height of 6 metres you therefore keep 1 metre distance to the roof edge, at a height of 8 metres a distance of 1.20 metres and between 8 and 12 metres a distance of 1.60 metres. Above 12 metres, specialist advice from Solarstell is always required.
The next step in the mounting plan is the connector pieces. Connect the Solarstell Connect base elements of rows behind one another to each other to create more rigidity, and to need considerably less ballast!
Solarstell CONNECT mounting plan Solarstell CONNECT datasheet