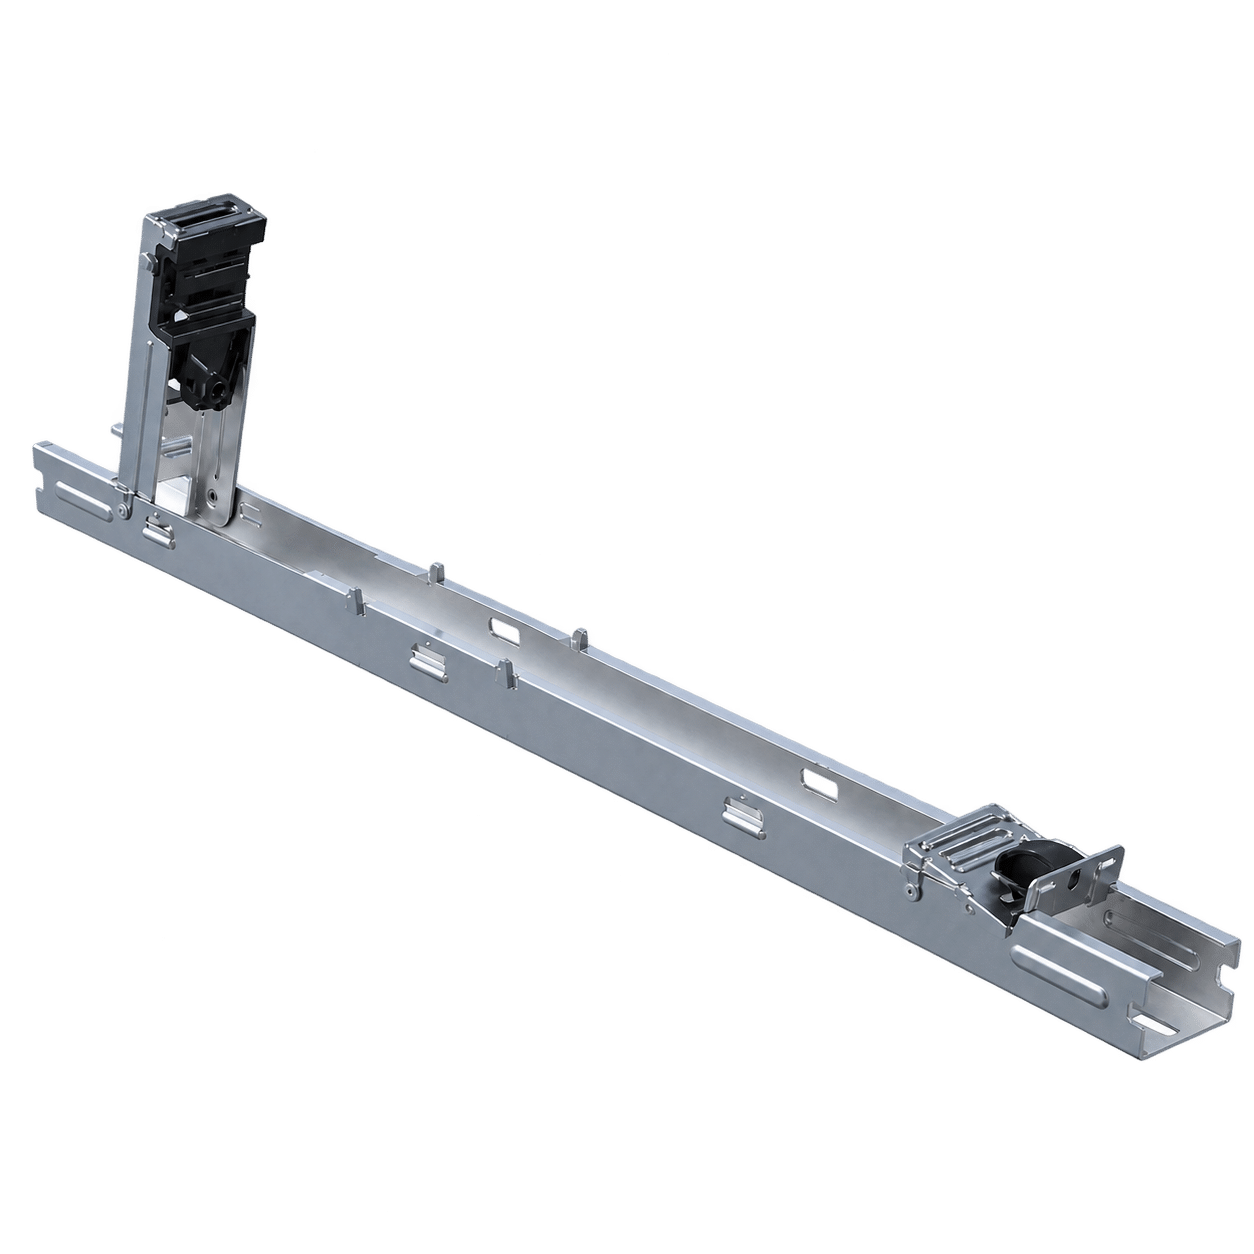
Blubase Connect Base Element Landscape NO FOOT
The Blubase Connect Base Element Landscape NO FOOT is the familiar base element of the Blubase Connect mounting system for solar panels in a landscape arrangement on a flat roof, but is supplied without the plastic feet. This makes the base element more compact to pack and easier to transport.
The required Blubase Connect feet are ordered separately and are easily clipped under the base element during installation. For the rest, you use this base element in the same way as the regular Blubase Connect Base Element Landscape.
The basis for Blubase Connect on a flat roof
The base element is literally the basis of the Blubase Connect construction. During installation you first place the base elements in the correct position on the roof. Next you click the integrated upright into place, after which the solar panels can be fastened with the dedicated Blubase module clamps.
Two base elements are needed for one solar panel. When several solar panels are placed side by side, the base elements are shared: for two solar panels you use three base elements, for example.
Why the NO FOOT version?
In this version the plastic roof feet are deliberately not pre-mounted. The advantage of this is that the base elements are more compact during storage and transport. Especially with larger quantities, this saves considerably on the required transport volume.
Please note: the feet are necessary for the final installation and are not included with this NO FOOT version. Therefore order the correct number of Blubase Connect feet separately.
Specifications
- Brand: Blubase
- System: Blubase Connect
- Version: Landscape
- Length: approx. 116 cm
- Application: solar panels on a flat roof
- Panel orientation: Landscape
- Feet version: NO FOOT – without plastic feet
- Feet: order separately
Installing the Blubase Connect base element
Start the installation by determining the position of the solar panels and setting out the base elements. First clip the required plastic feet under each base element and then place the base elements at the calculated distance from one another. The upright can then be clicked upwards.
A handy installation tip is to use the Blubase spacer. With it you can set out the correct distance between the base elements quickly and consistently.
The rows behind one another can then be joined together with the dedicated Blubase Connect connector pieces. This creates one stable construction and, depending on the calculation, less ballast may be needed.
Do not forget the other components
The base element is only one part of a complete Blubase Connect mounting system. Depending on the arrangement, you will need items such as feet, end and mid clamps, back plates, connector pieces and ballast.
Please note: with this NO FOOT version the plastic feet are not included. Therefore add them to your order separately.
Bear the no-go zone in mind
With solar panels on a flat roof it is important to keep sufficient distance from the roof edge. As a rule of thumb, Blubase Connect uses 1/6 of the building height, with a minimum distance of 75 cm from the roof edge. Higher wind loads can occur around roof edges and corners.
For the definitive positioning and the amount of ballast, always use a correct Blubase ballast and project calculation. The required ballast depends on, among other things, the building height, location, roof dimensions, panel dimensions and the chosen arrangement.
Solarstell CONNECT mounting plan Solarstell CONNECT datasheet